Shortening the flushing hose
Step 1
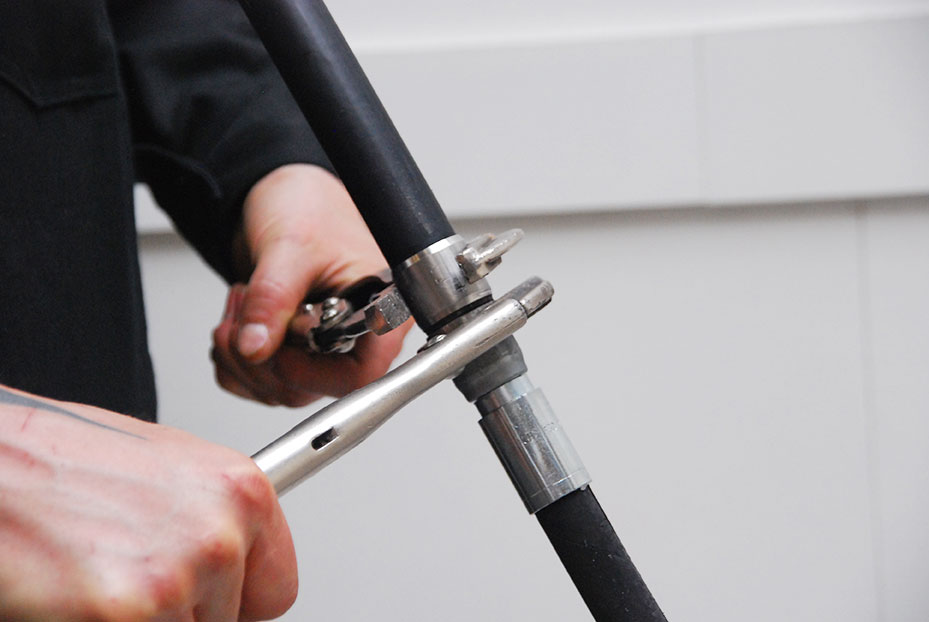
Clamp the clamping bushes 27×3.3 (106901PA253) firmly with pliers (preferably locking pliers).
Step 2
Twist the hose nipple (106901PA251) loose with an appropriately sized spanner or suitable pliers. The flexible section has now been removed from the flushing hose.
Step 3

Remove the clamping bush (106901PA253) with locking pliers.
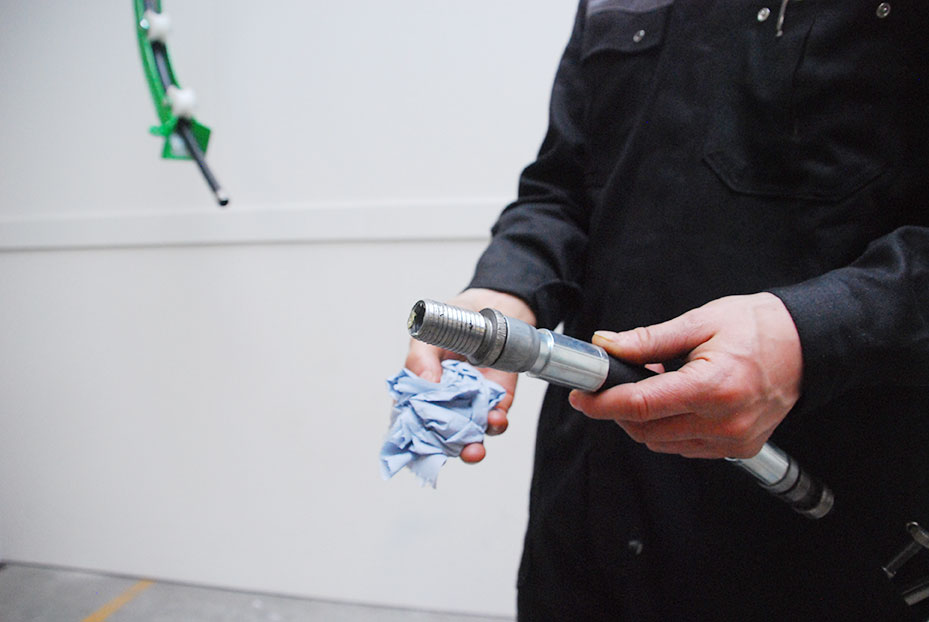
Step 4

Shorten the flushing hose (106901BP315, 106901BP400, 106901BP500) using a hose & tubing cutter, a sharp Stanley knife or a saw.
Step 5
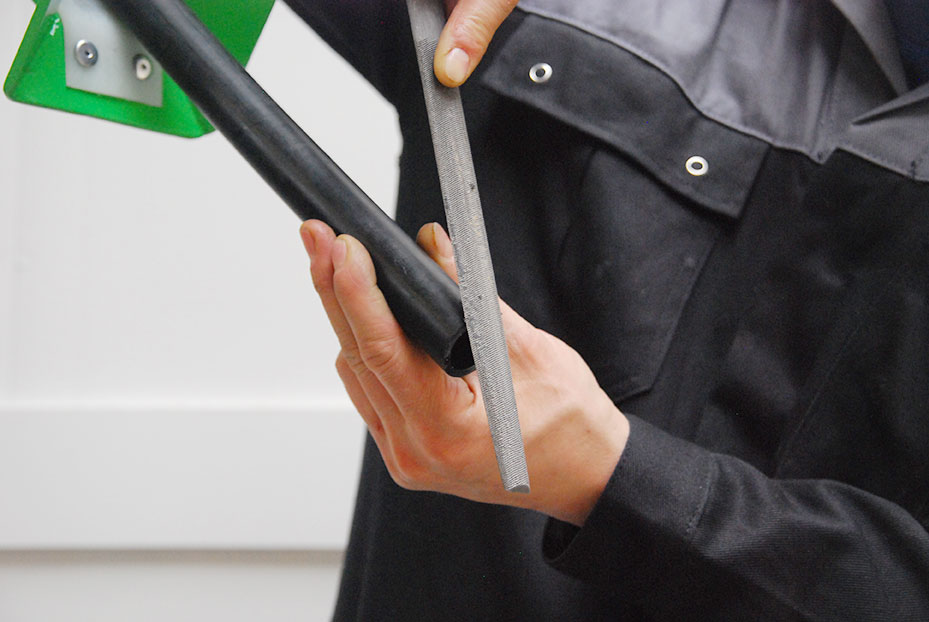
Use a knife to remove any roughness from the inside edge of the flushing hose that was caused by cutting or sawing. Smooth the outside with a file.
Step 6
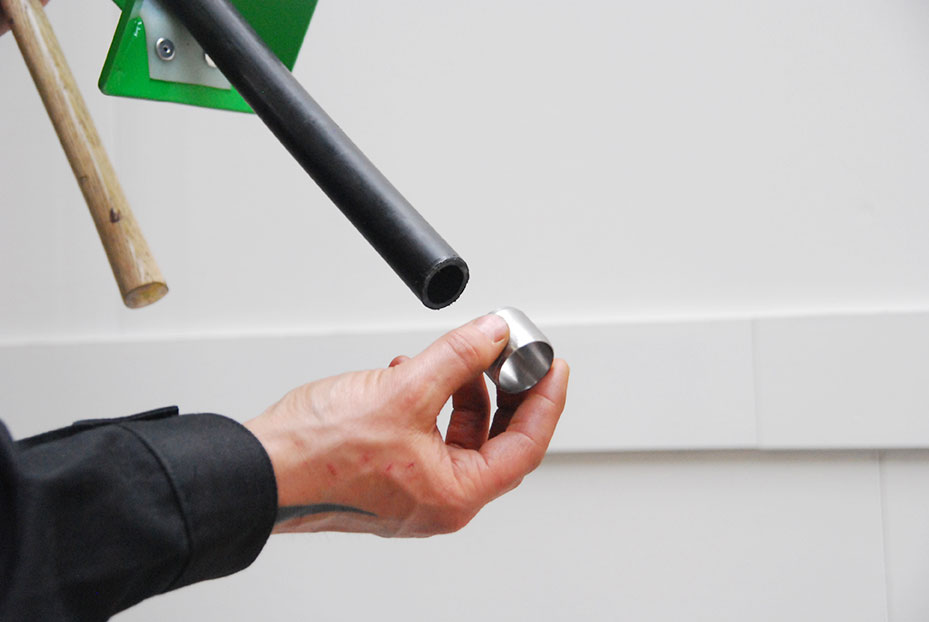
Place the clamping bush 27×3.3 (106901PA253) over the flushing hose (106901BP315, 106901BP400, 106901BP500).
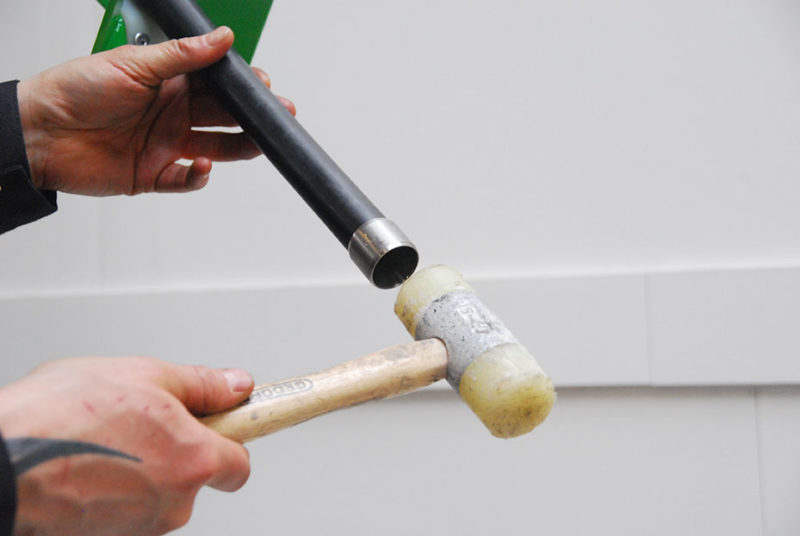
Secure it in place using a hammer (end of clamping bush even with the end of the flushing hose).
Step 7
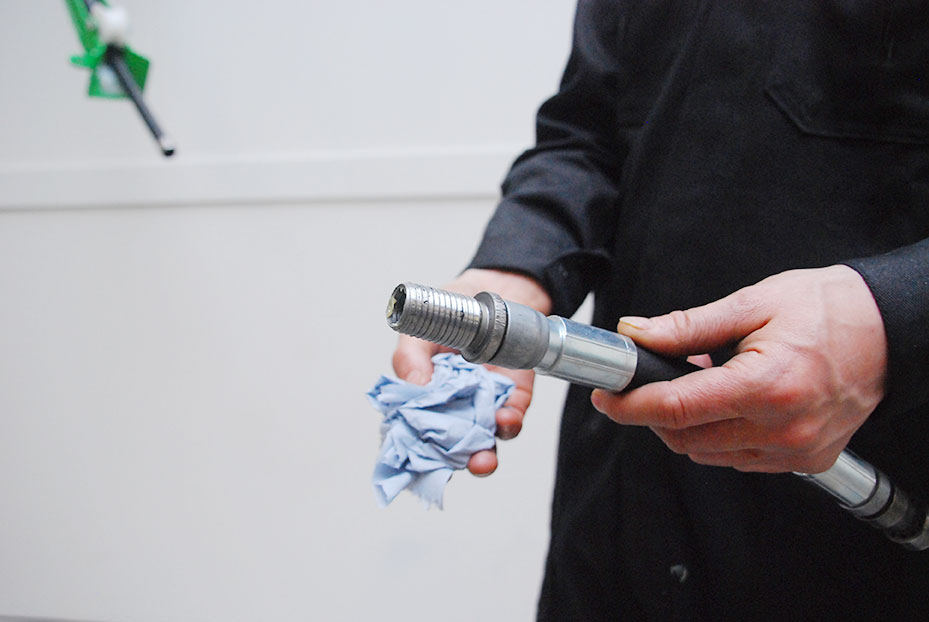
Clean the hose nipple (106901PA251) before fitting it again.
Step 8
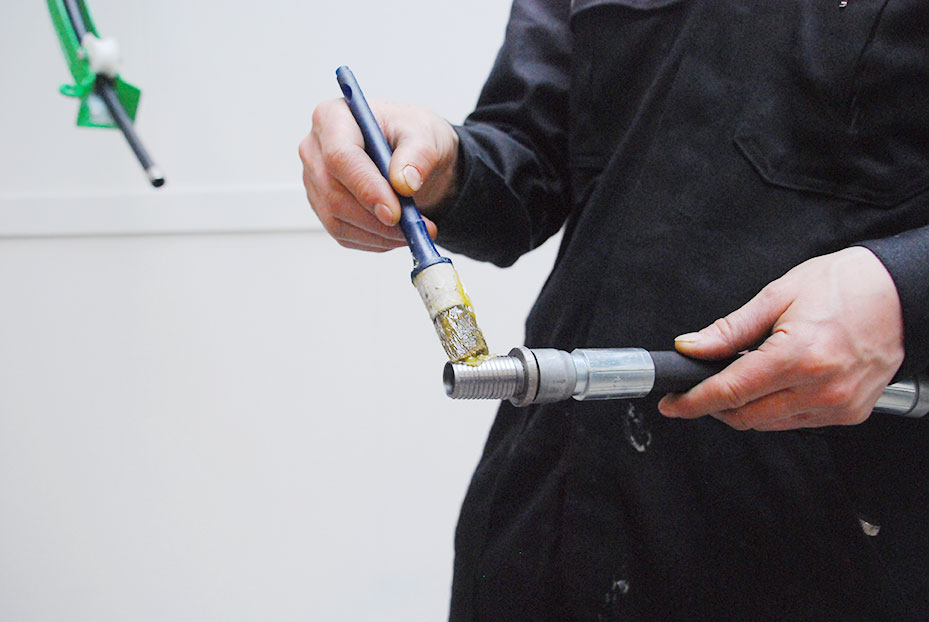
Now lubricate the hose nipple (106901PA251) with grease.
Step 9
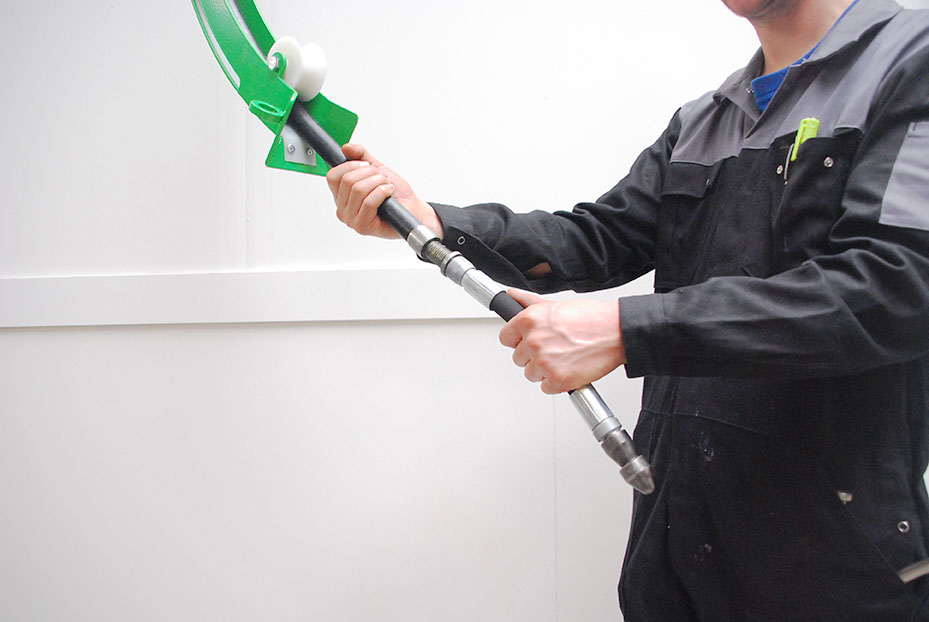
Twist the hose nipple (106901PA251) into the hose. This is easier to do with the help of an assistant: one person holds the flushing hose while the other person twists the nipple into the hose with locking pliers.